Screenplay Formatting
Script formatting basics and common concerns.
Welcome, screenwriters!
I've compiled these rules and tips to address the common questions and challenges my students have encountered over the years. This comprehensive guide to screenplay formatting is for you.
Included are my expectations as well as some of my personal preferences. Remember, good formatting isn't just about following rules—it's about creating a clear, readable blueprint for your story.
For more in-depth information, I suggest referring to David Trottier’s The Screenwriter’s Bible:
Amazon (7th ed.) | Chapters/Indigo (6th ed.)
What is a script?
A script is a blueprint of your story for the cast and crew. It follows specific technical formatting requirements while engaging the reader’s emotions.
Scriptwriting Programs
Many programs handle formatting issues like margins, tabs, and title pages. Try several free or freemium options before committing to a paid version.
Here is a list of scriptwriting programs I’ve tried and tested or were recommended by one of my students or writing clients.
Script formatting
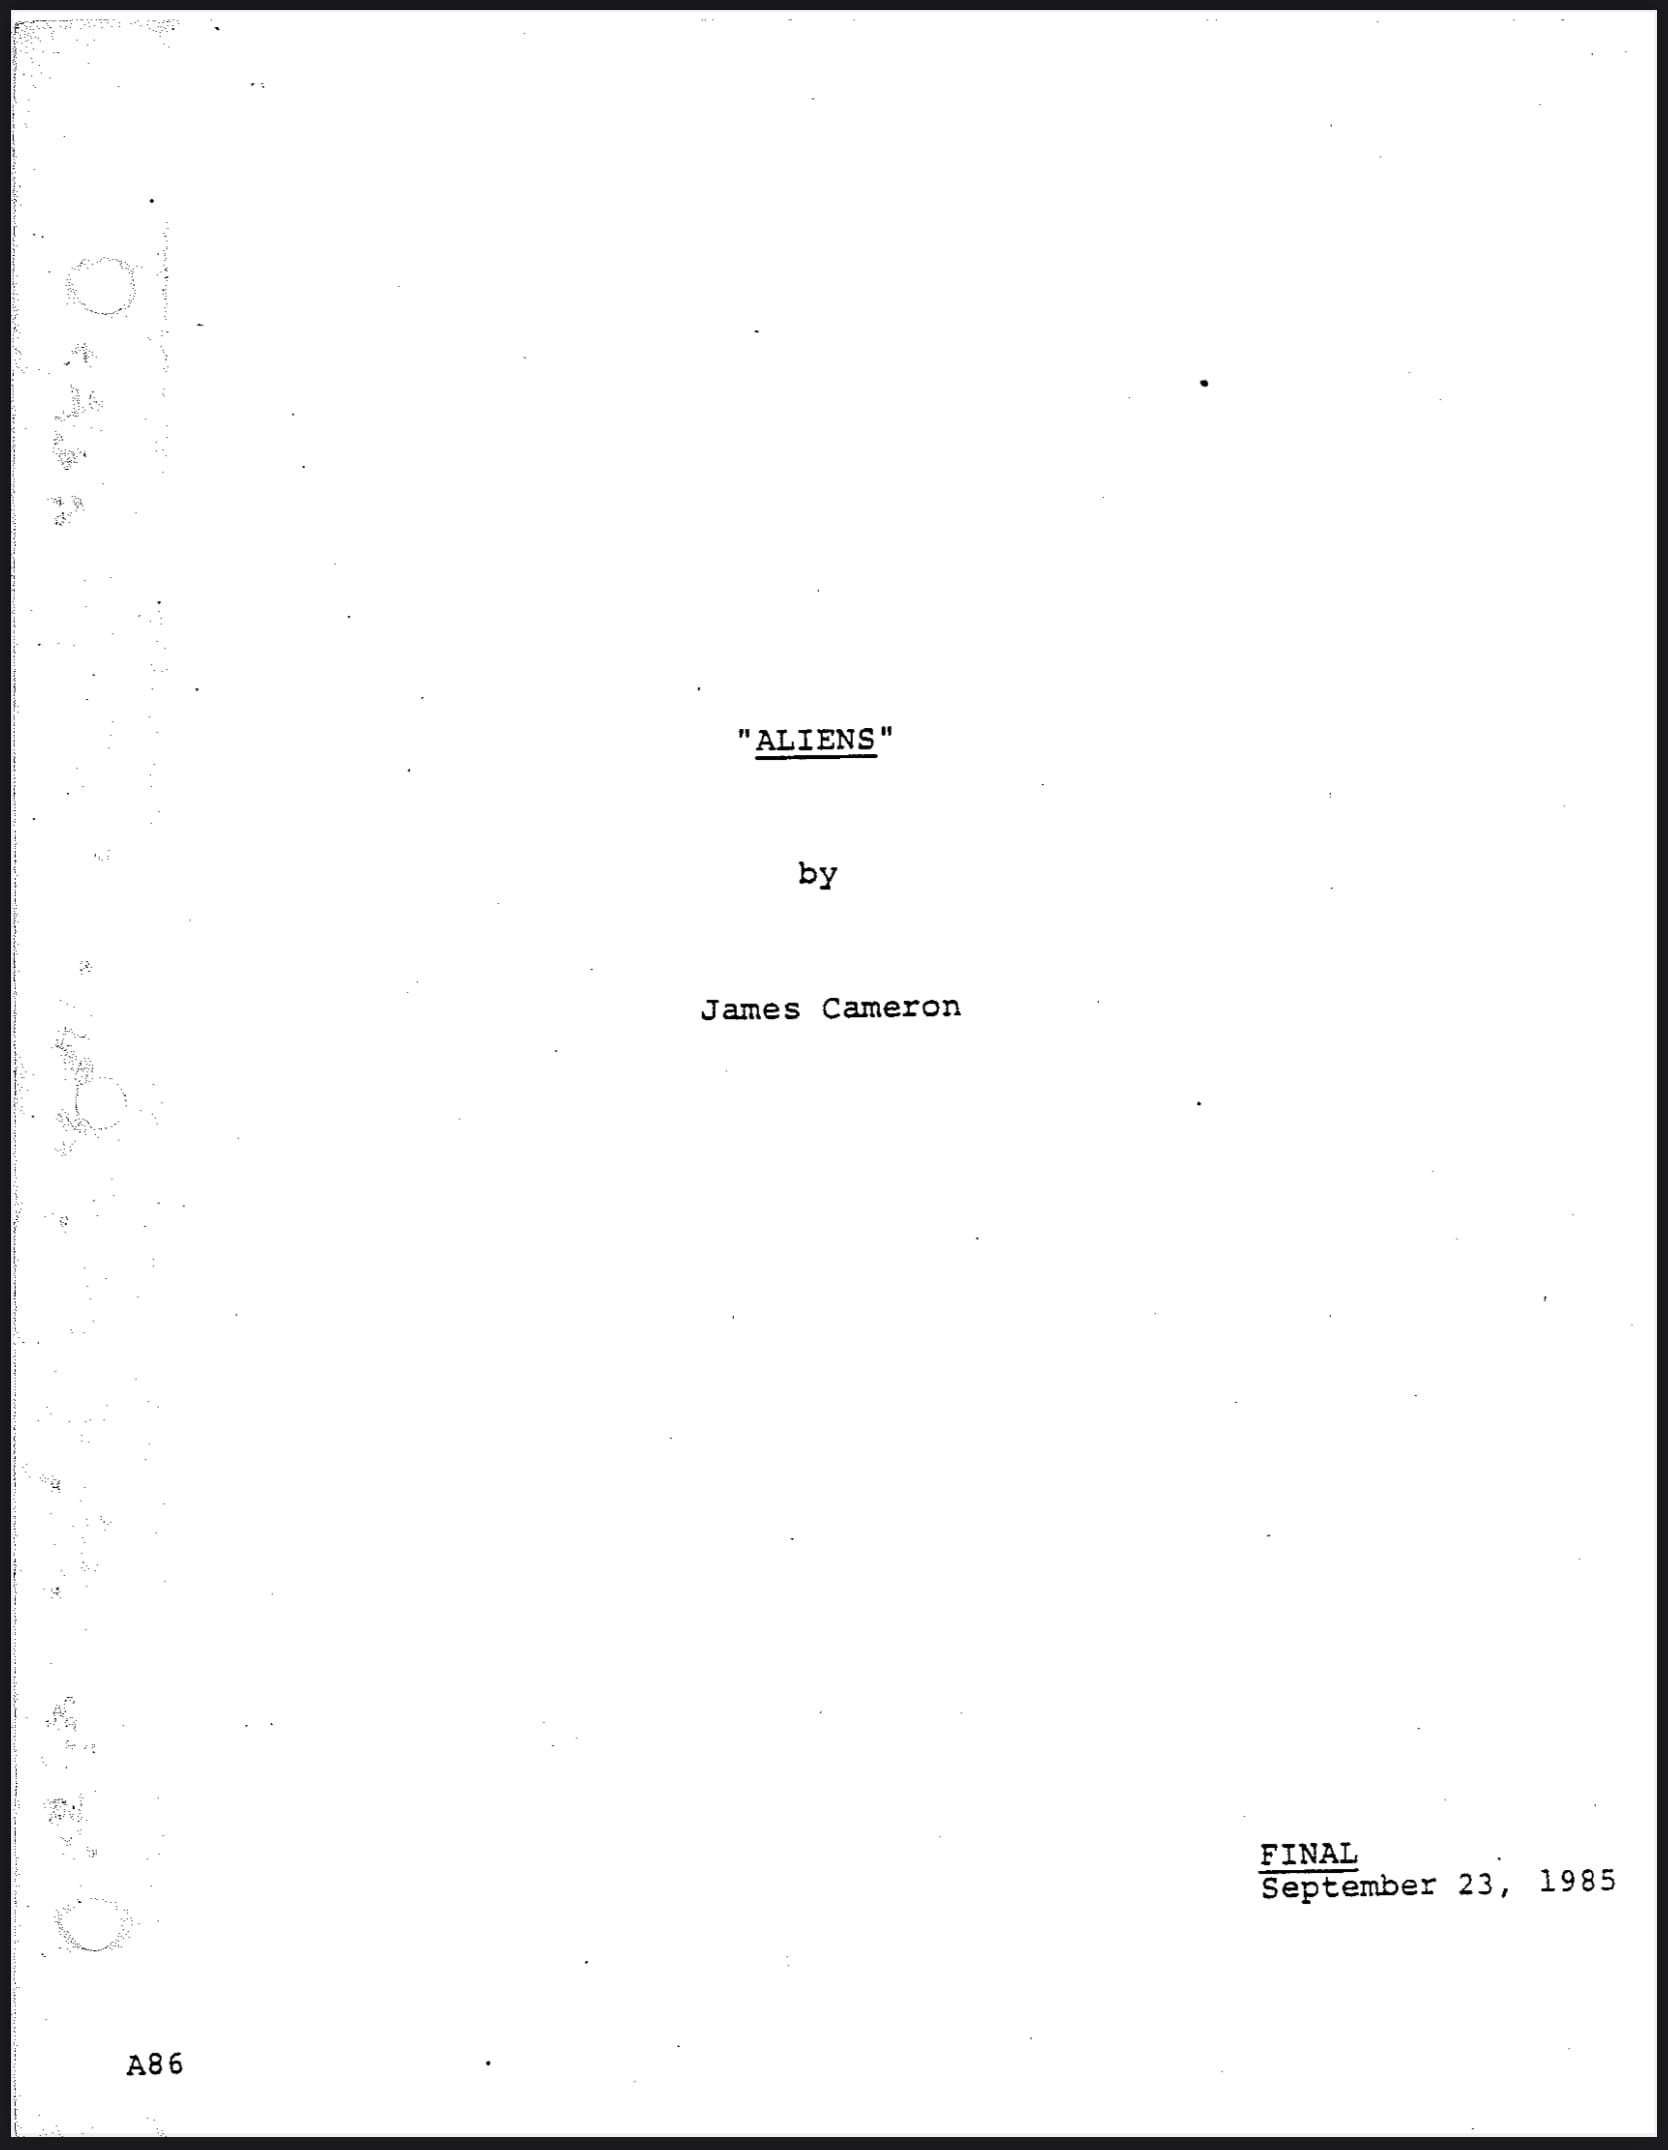
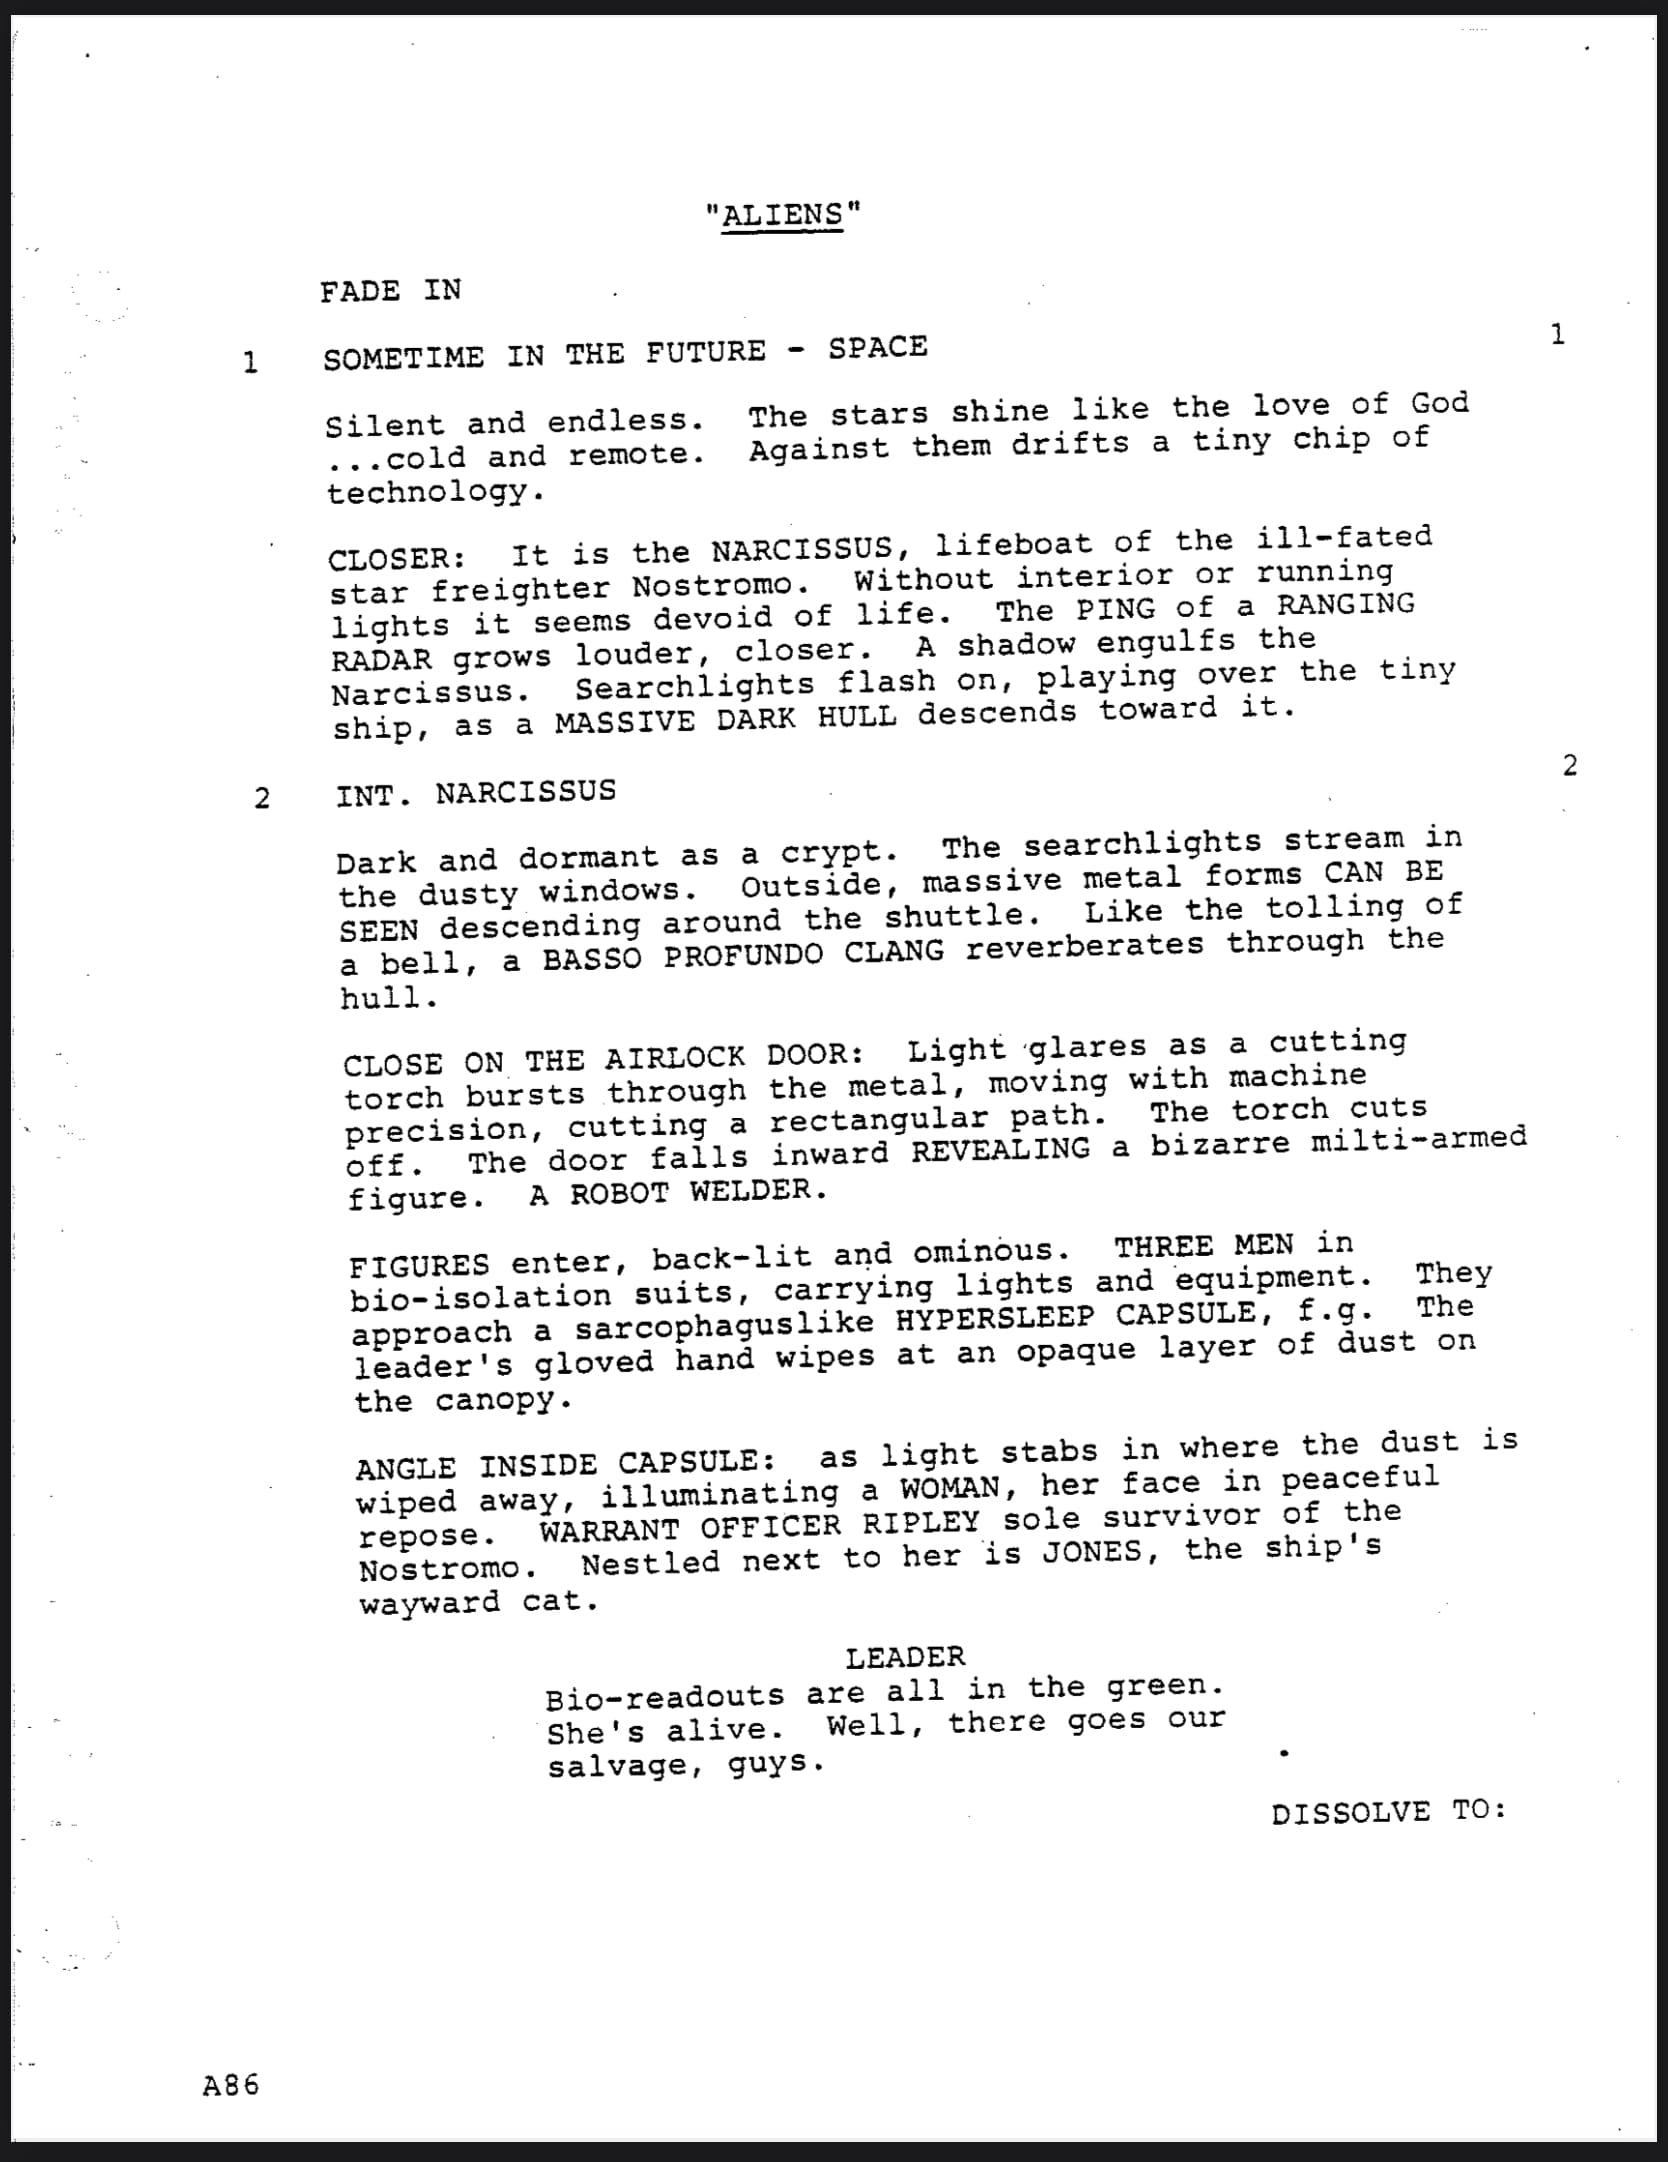
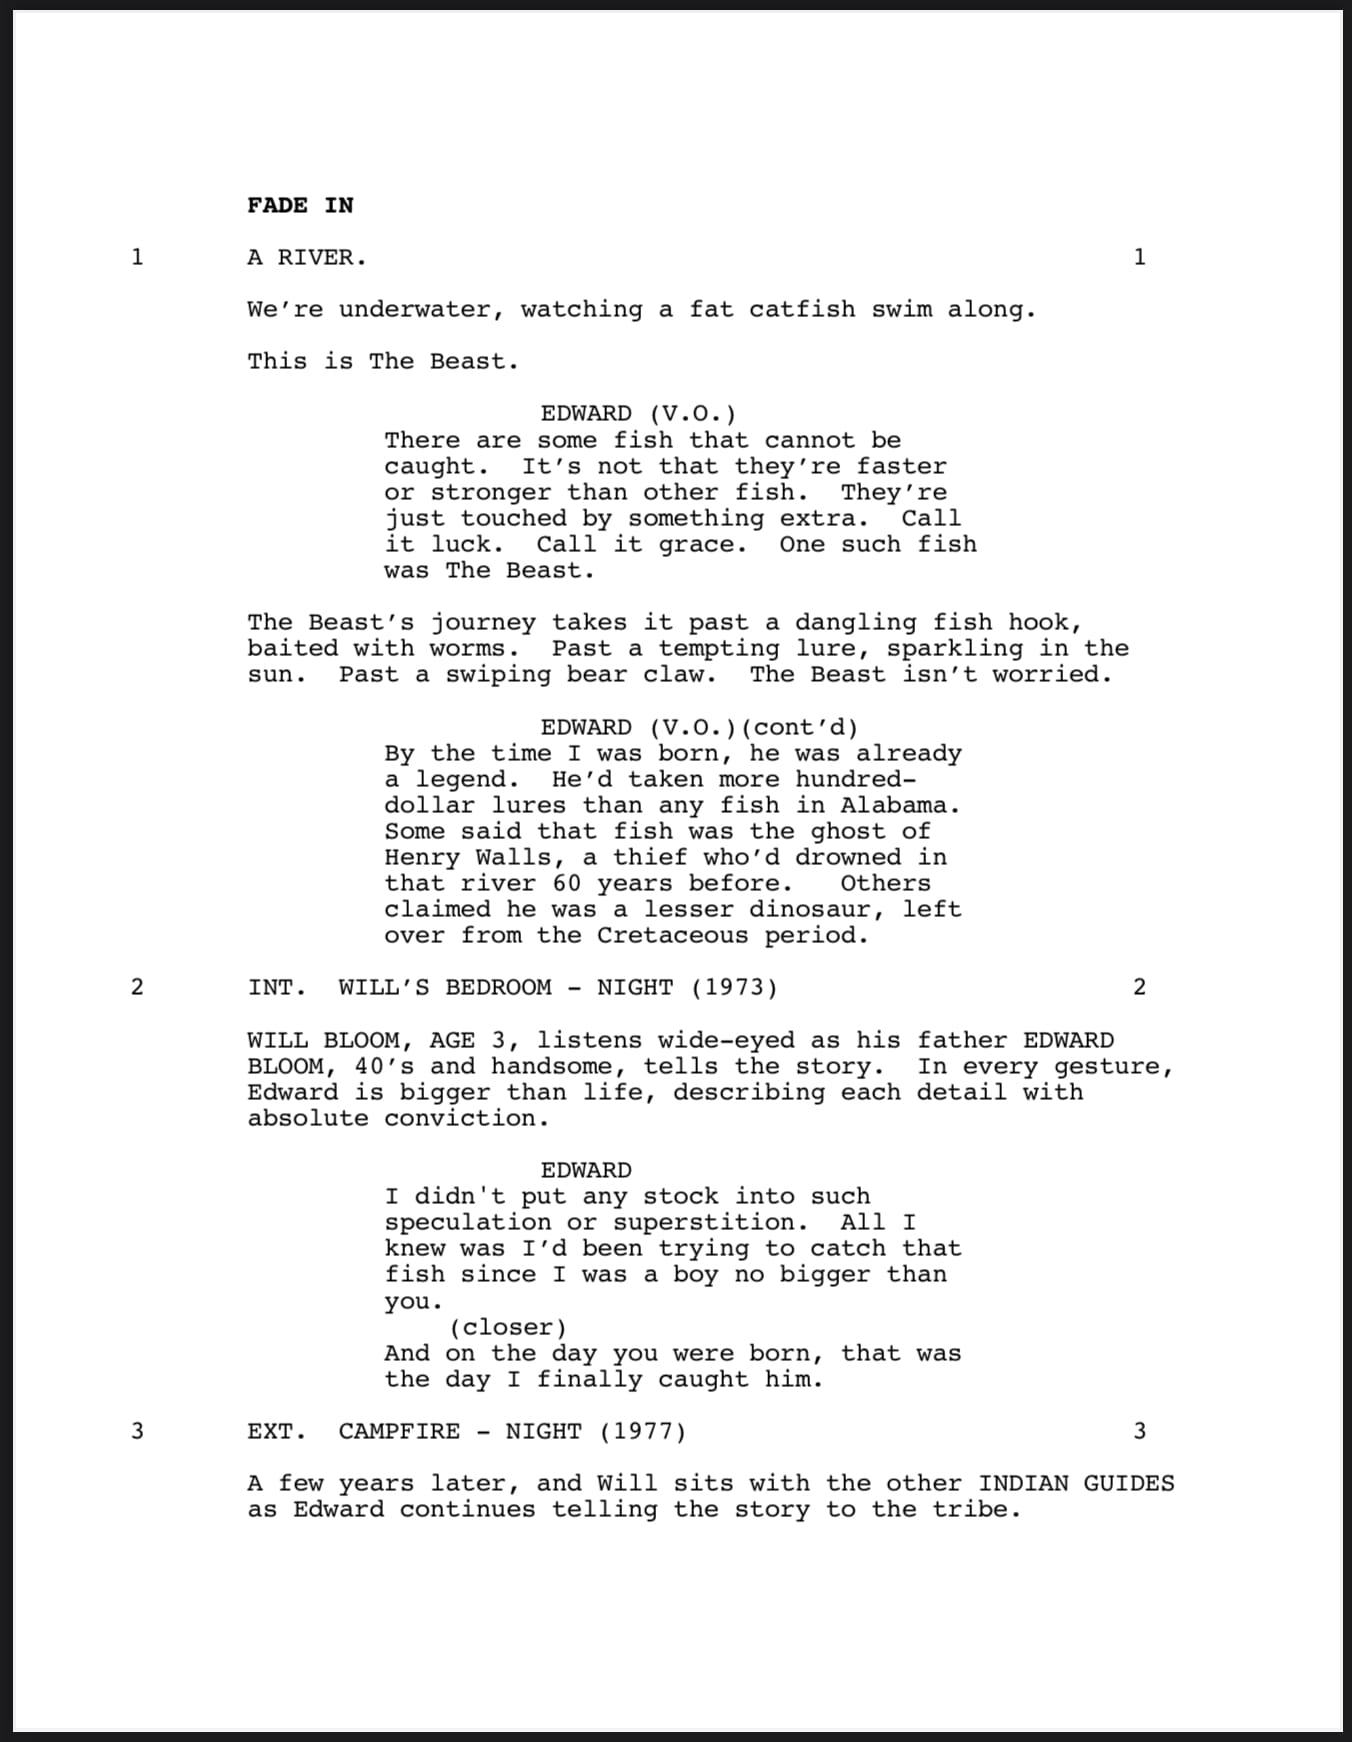
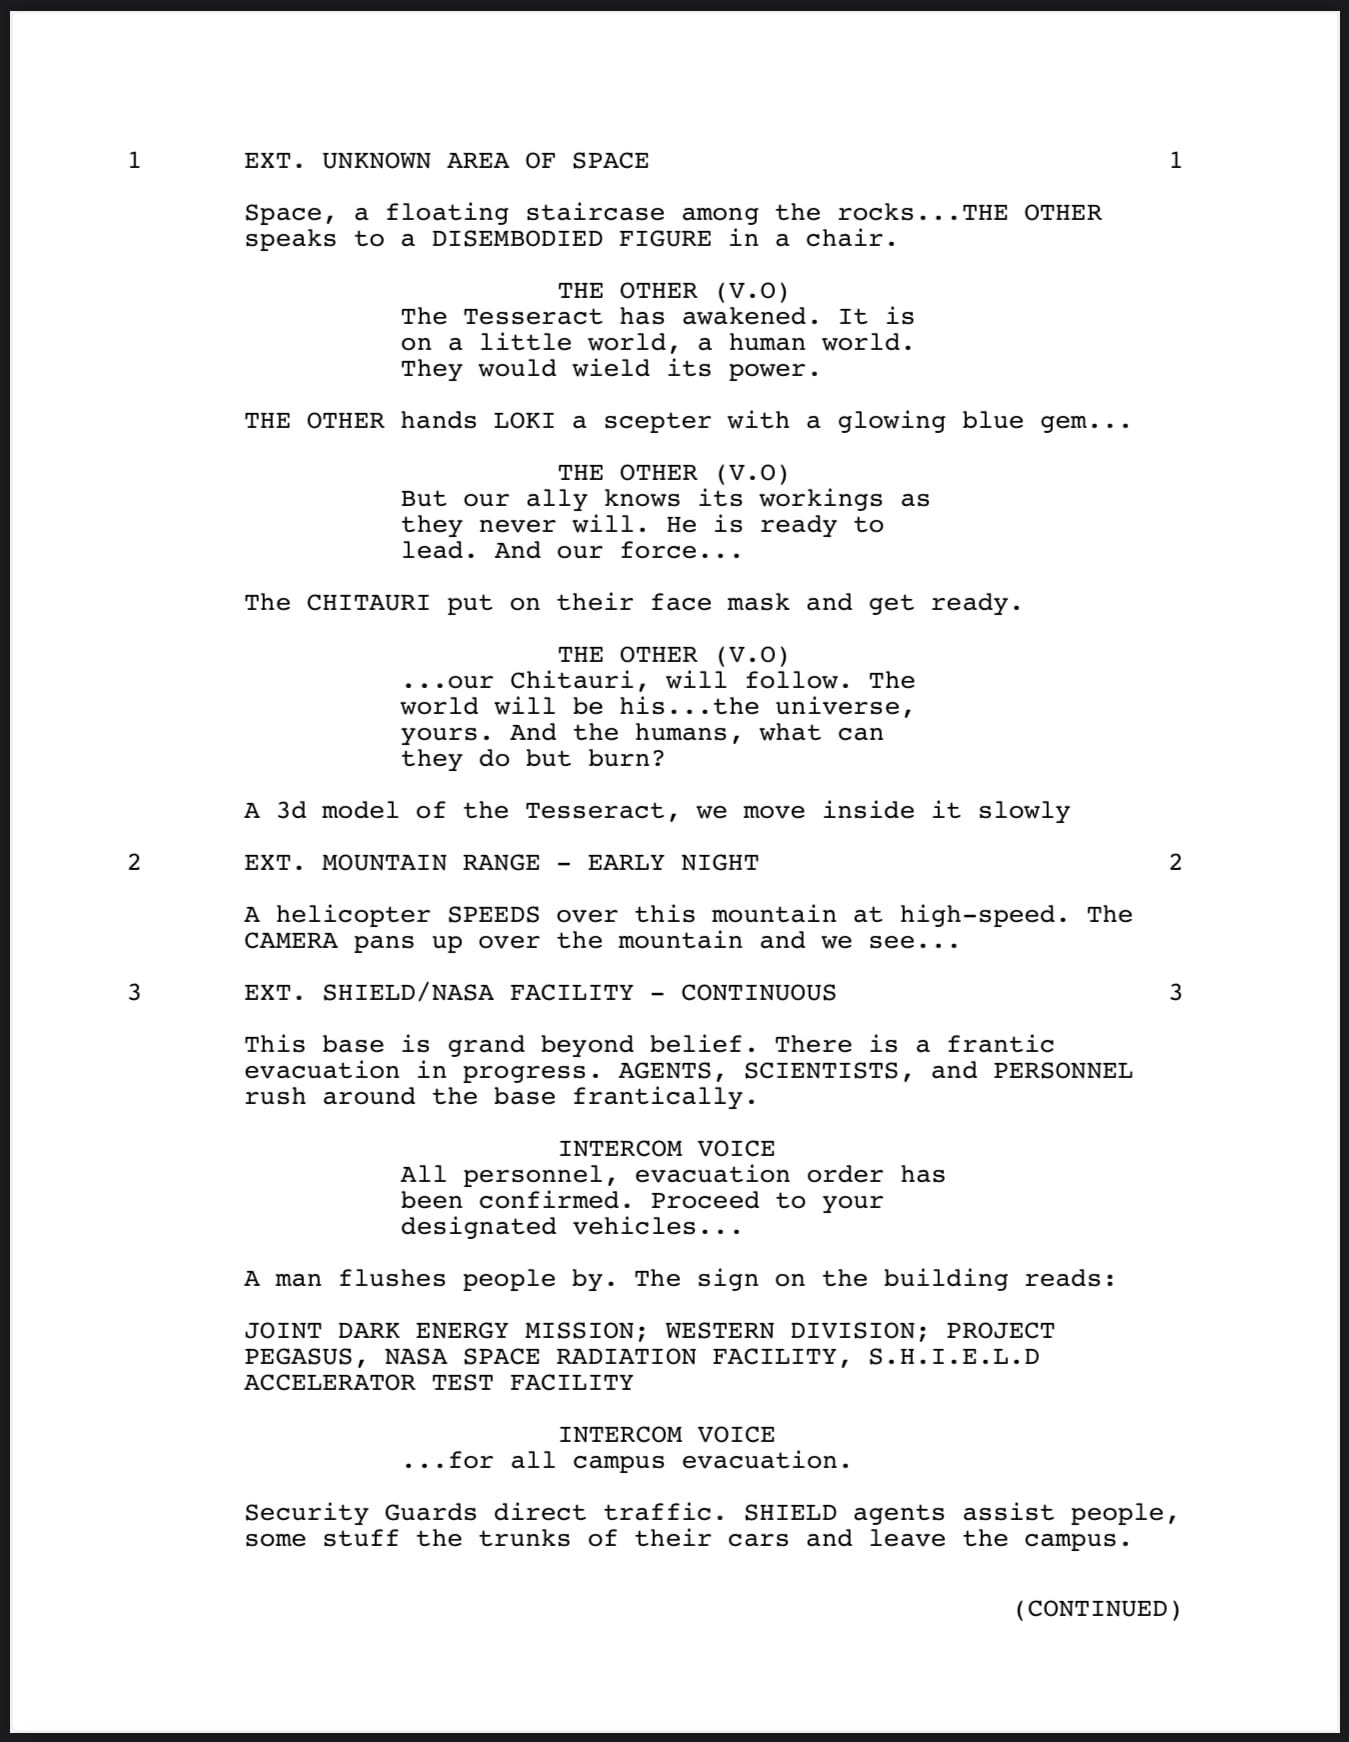
To understand what a script page looks like, look at these script pages shared here for educational purposes.
Remember:
- Aim for simplicity and clarity. Don’t over-write.
- Use white space effectively. Don’t have large blocks of text.
- General rule: One page ≈ One minute of screen time.
You can find more screenplays at:
- IMSDb
- The Daily Script
- Archive.org
- Drews Script-o-rama
- Go Into the Story
- Many can be found on Reddit with a search, often in r/screenwriting
Elements of a Screenplay
Five major elements comprise the construction of a screenplay:
- Scene headings (Slug Lines)
- Narrative descriptions
- Dialogue
- Cover page
- THE END
1) Scene Headings (or Sluglines)
The first element is the scene heading, which is used whenever you introduce a new location or time.
They are composed of three pieces:
- The Camera location: INT. or EXT.
- The Scene location: CHUCK’S BEDROOM
- The Time of Day: DAY, NIGHT, LATER, or CONTINUOUS
Altogether, they will look something like this:
[CAMERA LOCATION]. [SCENE LOCATION] - [TIME OF DAY]
or
INT. CHUCK’S BEDROOM - DAY
Camera Location
Where is the camera located? Is it inside a building or outside? If your character is inside a space but you see them from the outside, this is how you would indicate it.
When it comes to forests and oceans, both are considered exterior since they are outside of a space. An interior would be a structure within that space, like a cottage or a submarine.
This doesn’t mean you are allowed to tell us where the camera is pointed at in the scene.
Scene Location
This part is an indicator for your cast and crew to know where the scene occurs.
Don’t use a description here. That will be included in the narrative descriptions later.
Time of Day
The primary options are DAY and NIGHT. They give crew members essential information about when a scene takes place.
However, some scripts will have other notations like MORNING, EVENING, and NOON. Still, unless specific information exists in the scene (for example, the sun rises), it is most likely irrelevant.
Two other options are:
- LATER - used when time has passed in the exact location
- CONTINUOUS - used when one scene leads immediately into the next. Think of a one-shot scene like the club in Goodfellas or the entire film of the military drama 1917.
If you are writing a scene in space, you don’t need to include the time of day.
Special Sluglines
A few special scene headings may be used:
- Dream Sequences
- Flashbacks
- Vehicles
- French Scenes
- INSERTS
- Computer screens
Dream Sequences
These will look like:
- SARAH’S DREAM
- INT. HOUSE - DAY - SARAH’S DREAM
- INT. HOUSE - DAY (SARAH’S DREAM)
Flashbacks
There are many ways to do flashbacks (all of which are listed in the book). However, some preferred notations are:
- EXT. BUDAPEST - DAY (FLASHBACK)
- EXT. BUDAPEST - DAY - FLASHBACK
- FLASHBACK - EXT. BUDAPEST - DAY
After using the flashback, indicate the return to the present day:
- EXT. BUDAPEST - DAY (BACK TO PRESENT DAY)
- EXT. BUDAPEST - DAY - BACK TO PRESENT DAY
- BACK TO PRESENT DAY - EXT. BUDAPEST - DAY
It is vital to remain consistent. Use the same format for both versions.
Finally, there is a special notation for flashbacks that hop around many different periods:
- EXT. BUDAPEST - DAY (5 YEARS AGO)
- EXT. BUDAPEST - DAY - 5 YEARS AGO
Again, remain consistent as you return to the present storyline or another time.
Vehicles
When dealing with a vehicle, consider where the action occurs (Is it inside the vehicle or outside?).
If there is one character outside speaking with another inside, then where is the focus? (I’d most likely lean toward the exterior.)
As well, if the vehicle is travelling, then you can use a slugline like:
INT. CAR - DAY - TRAVELLING
French Scenes (Secondary Sluglines)
These are used when focusing on several smaller locations in a large area.
To write a French scene:
- Use an opening master slug-line (INT. RICK’S CAFE - DAY) to establish the location. Include narrative description.
- Once you’ve introduced the space, move to the next piece of action with a French scene.
For example, if you are filming in a nightclub, you could introduce the space as INT. RICK’S CAFE, but once inside, you could use AT THE BAR, GAMING ROOM, or RICK’S TABLE.

Notice that you don’t need to add interior or time once you use the French scene.
You can also create French scenes that focus on characters:

Inserts
INSERTs are used to point out a small, specific detail:

Computer Screens
This element is a variation of the INSERT.
The typed words are in quotation marks.

A more readable style could be:

You could also use the location slug lines to indicate it:

2) Narrative Descriptions
The next element is narrative descriptions.
These contain actions, settings, characters, sounds, and transitions. Once you’ve introduced a location, always set the scene with a narrative description detailing any new locations and which characters are in the scene.
Only write what you can see and hear in the narrative description. Never write thoughts, smells, or backstories. If it can’t be filmed, it shouldn’t be described.
When writing narrative descriptions, always work in active present tense.
On the first physical introduction of a character, write their name in UPPER CASE in the narrative description only. Never do this in dialogue. Once introduced, use standard capitalization for their proper names (i.e. Joe) and no capitalization on common nouns (i.e. the man).
You don’t need to capitalize non-speaking characters.
Capitalize on important or unique SOUNDS or MOMENTS. But don’t abuse. Do not capitalize props.
Most importantly, use brevity. Use short descriptions and only three to four lines of action per paragraph. Remember, white space is essential; one page should equal about one minute of screen time.
If you aren’t directing the script, avoid camera directions and transitions.
Montages
Montages are often used to show a short sequence, usually focused on a specific idea or action. It is frequently without dialogue and used to compress a long passage of time into a brief moment on the screen.
An example might look like this:

Introduce the section with MONTAGE and then detail the action that it describes (SARAH AND MIKE BUILD THE CAR). Each moment is set off with a double hyphen, then a space. Add a space between each line.
Remember to keep consistency. End each moment with a period on each line.
3) Dialogue
The next element is dialogue. It is composed of four main parts:
- Character Cues - written in ALL CAPS and centred on the page.
- O.S. and V.O. - If a character is off-screen but in the scene, use (O.S.); if they aren’t, use (V.O.).
- Parentheticals (also called wrylies): These are located below the character cue and tell how a line is delivered (sarcastically, angrily, etc.). You are discouraged not to use these unless necessary. Like transitions and camera shots, they are directions that the cast and crew will ignore.
- Dialogue. Treat it like action and keep it short. Be sure to write clearly, not like a comic book (i.e. WHAAAAAAAT!?!) or with forced accents.
An example of dialogue might look like this:

Please notice how every scene leads with a narrative description, setting up the locations and characters within a scene before leading into the dialogue.
Example of Telephone Conversation
A unique case for dialogue is telephone conversations. There are multiple approaches—all listed in The Screenwriter’s Bible—but here is a simple example of introducing one.
Introduce each character in their location before connecting them with the phone call.
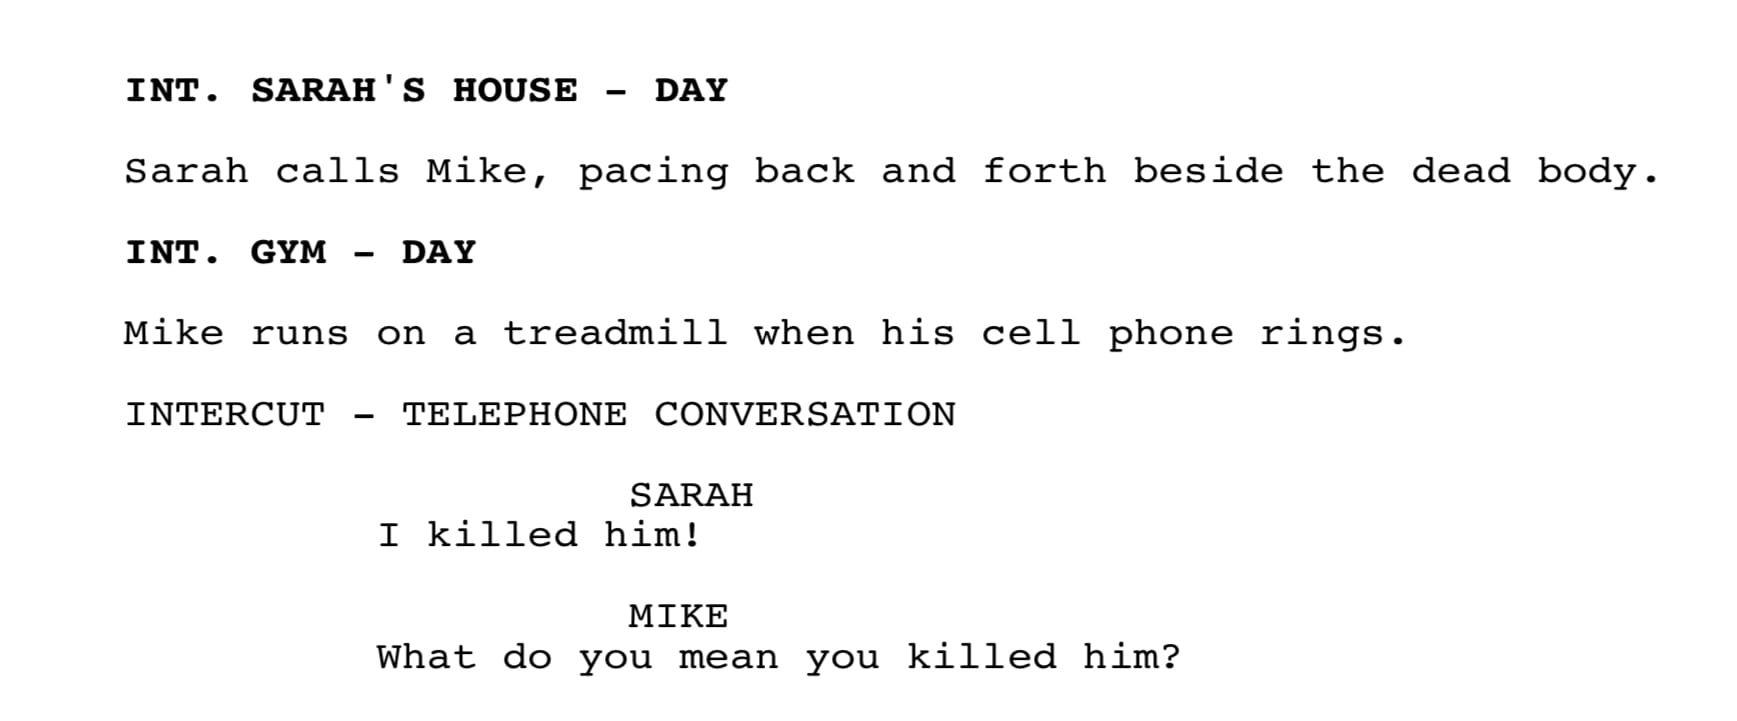
You will return to the scene at the end of the conversation, so use a SLUGLINE.
For example:

Speakers or Intercoms
V.O. indicates characters speaking through speakers, televisions, or a telephone. Another solution may be to use a parenthetical below the name indicating where the sound is coming from (i.e. from the intercom).
Dialogue in Montages
Dialogue is allowed in montages. As Trottier states here:

Another example of it in use is The Muppet Movie (2011):

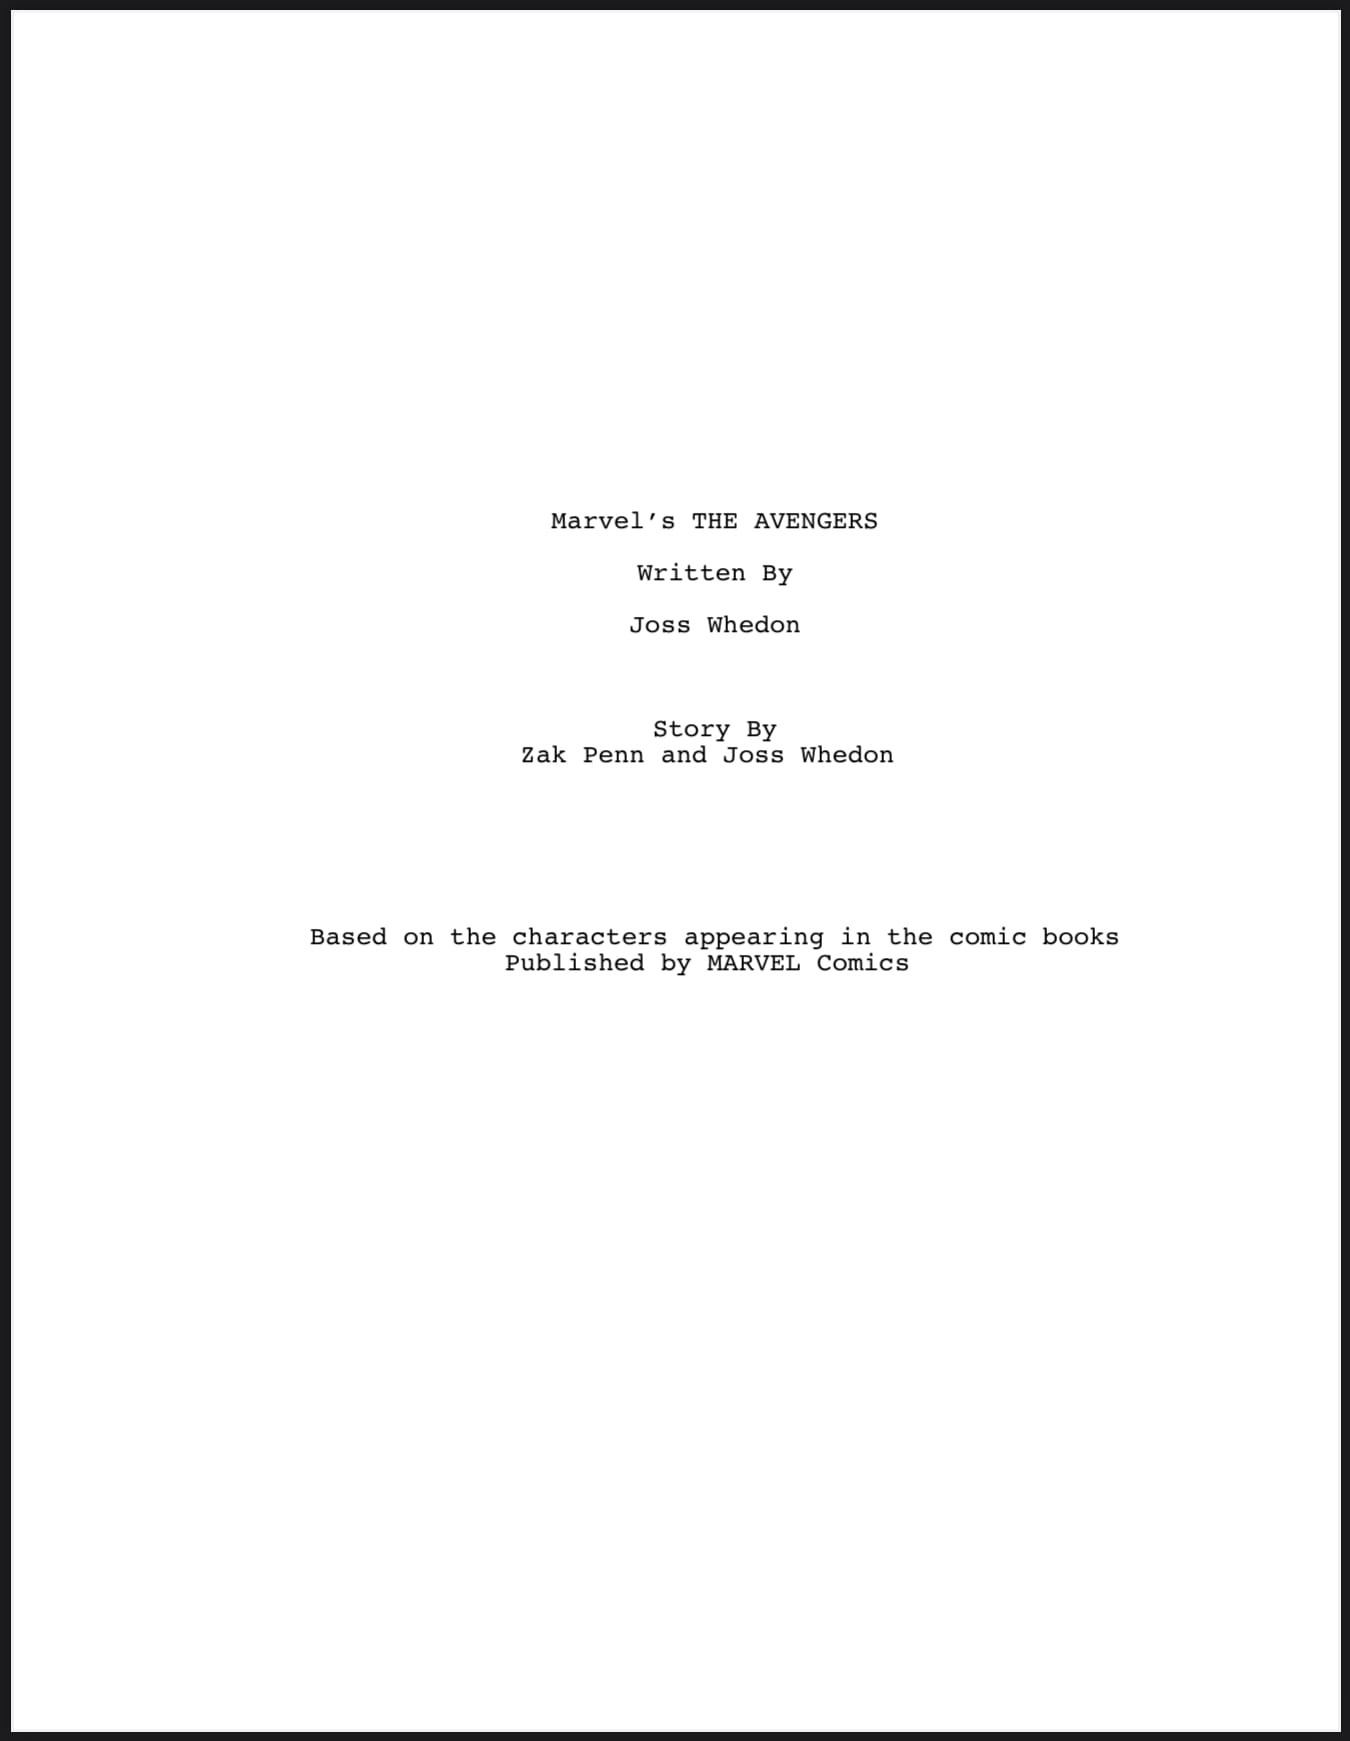
4) Cover Page
The next element is the cover page. Most writing programs will do the work for you, but make sure that you have all the pieces correct:
- Your title is CAPITALIZED.
- Your name is listed below it with the designation "Written by:"
- Your contact information is listed in the bottom corner (often right, but determined by your writing program).
- No DRAFT designations. This element is used for production and isn’t required for your initial script.

5) THE END
This final element is located at the end of your script and lets your reader know there are no more pages. You have three choices:
- Right-aligned (like a transition): FADE OUT.
- Right-aligned: FADE TO BLACK.
- Centred: THE END.
Make sure it is written correctly.
Transitions and other elements
Transitions are elements that indicate editing directions such as FADE IN, FADE OUT, or MATCH CUT.
If you aren’t directing the script, I’d recommend not to include these elements. Your focus is to write the story.
Another element scriptwriting programs will sometimes automatically insert are indicators such as CONT’D or MORE. These indicate to your cast and crew whether a scene or dialogue carries over to the next page.
Whether your writing program adds it or not isn’t an issue; either way is acceptable. However, if you try to force it into your script, it can often look wrong.
The Big Reminders
- Always show the story unfolding. Never direct it.
- Only DAY or NIGHT — or LATER or CONTINUOUS
- Never write “we see” or camera directions (“the camera pans to…”)
- Please keep us in the fictional space of the story.